Client setup
The client setup is very simple.
- Download the client installer
- Launch the installer
- Follow instructions and wait for it to finish
- Finish installation, optionally leave the launch option ticked to start the player
Platforms
There are some platform-specifics issues that you will have to go over in order for the installer and/or player to work.
Windows
Will probably show SmartScreen, tell you this application is unknown, and attempt to stop you from using it.
It may even not let you download/extract the installer.
To make it work, you probably have to disable Windows Defender or any other anti-virus software you have to let the installer do its job.
If you know how to do it, add an exception.
SmartScreen has a "More info" button that when clicked will show an option to allow it.
The installer will probably ask for admin on launch to be able to use any install directory.
You can change it to any folder you want before installing.
Linux
Should just work.
Might need you to make the installer executable after extracting.
Some window managers may not like the second overlay window the player uses due to a technical limitation of the UI framework.
I have tested with Ubuntu.
Mac OS
Since I don't own any devices, and there is no simple way to virtualize it, I can't reliably test how things work.
From what I have heard, you have to go into some settings and "allow" it to run anyways.
I will probably eventually get a hold of how to properly package in the ".app" format for it to mostly work.
If you only get a zip file containing a single "Installer" file - you probably have to run it through the terminal.
You may need to make it executable first if it's not.

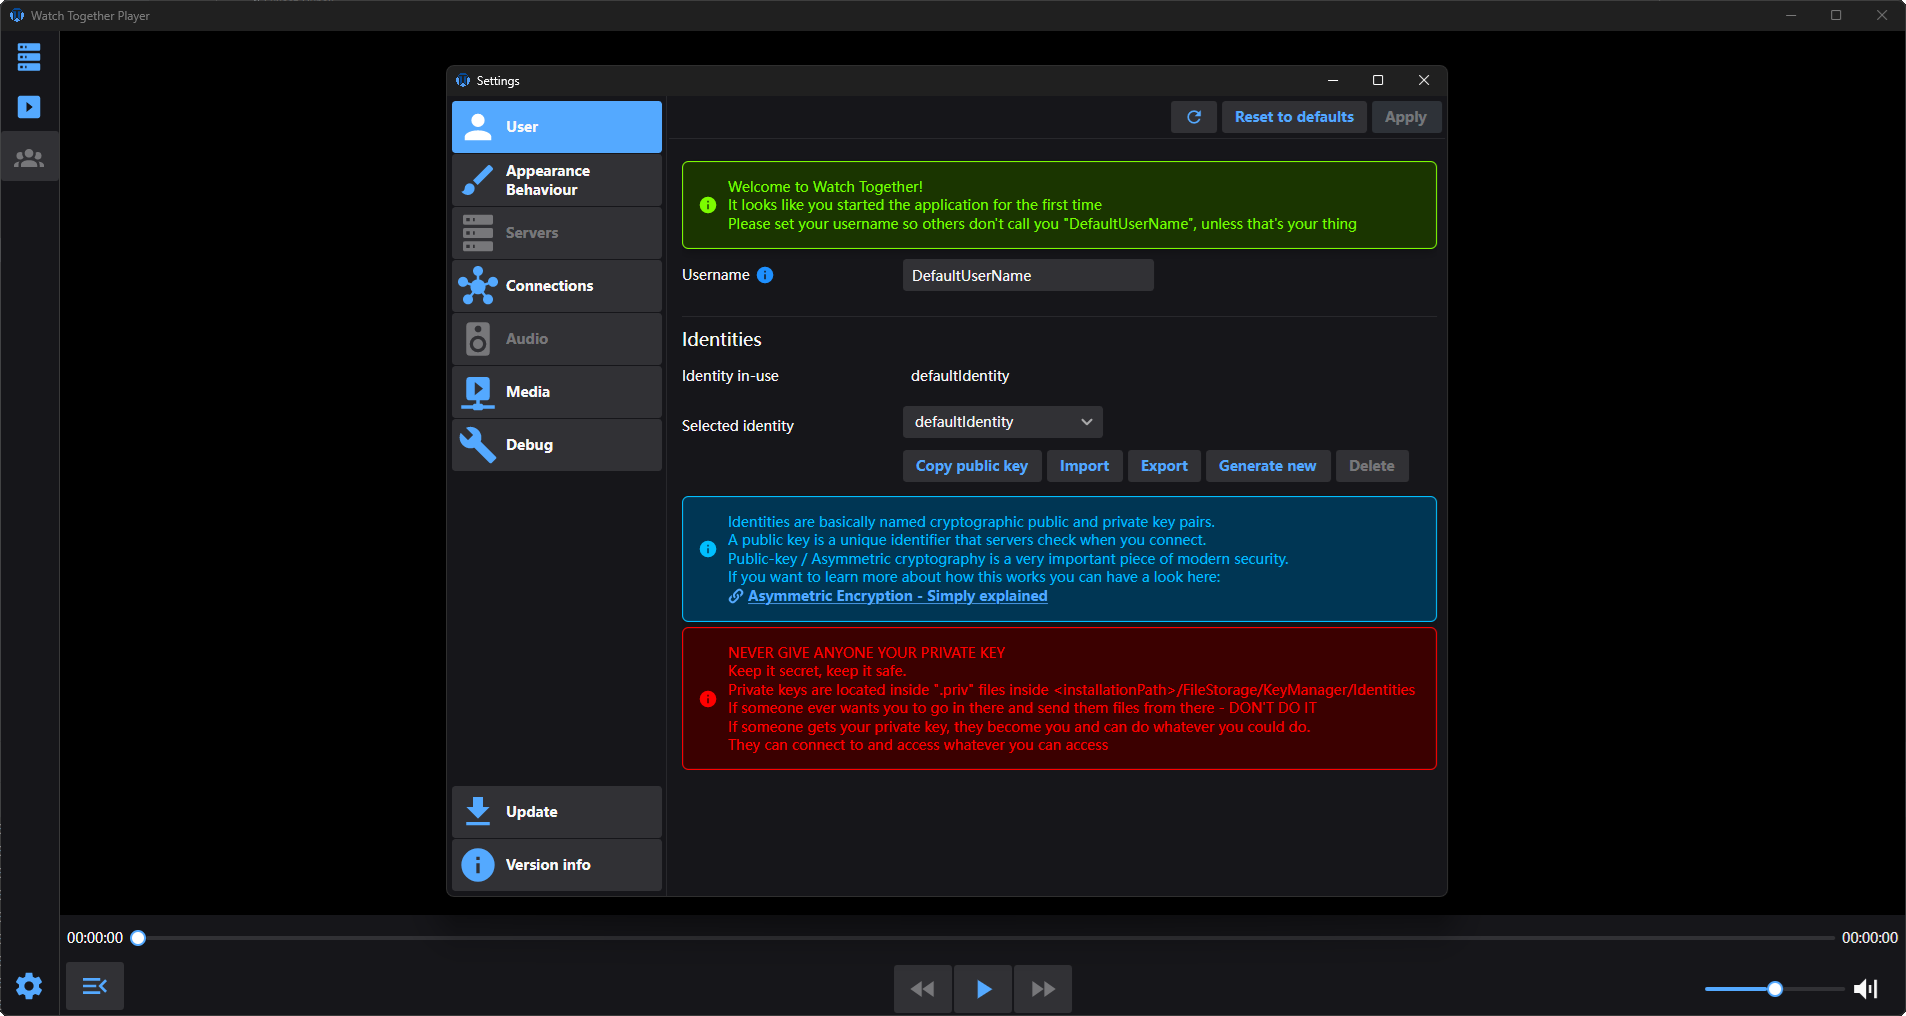
Once the client/player starts for the first time, you should be greeted by the settings window asking you to change your user name.
You can also have a look around to see what is where.
From that point onwards you will most likely want to connect to a server.
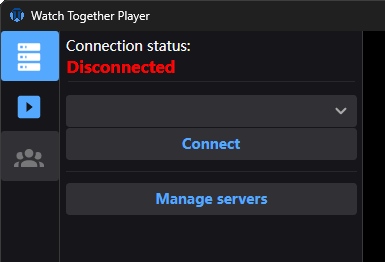
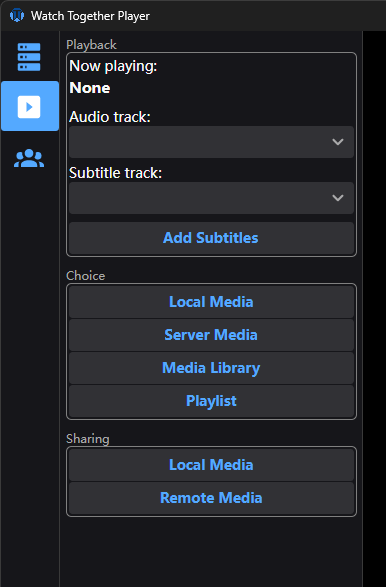
On the main window there is a side-menu with tab icons.
If you hover over them, they will show you a tooltip to indicate what they are.
You can always just click them to see what they have inside.
The first one from the top should be the server tab where you can quickly go to server settings through the "Manager servers" button.
Once you click it, you will see the server settings tab with your server list.
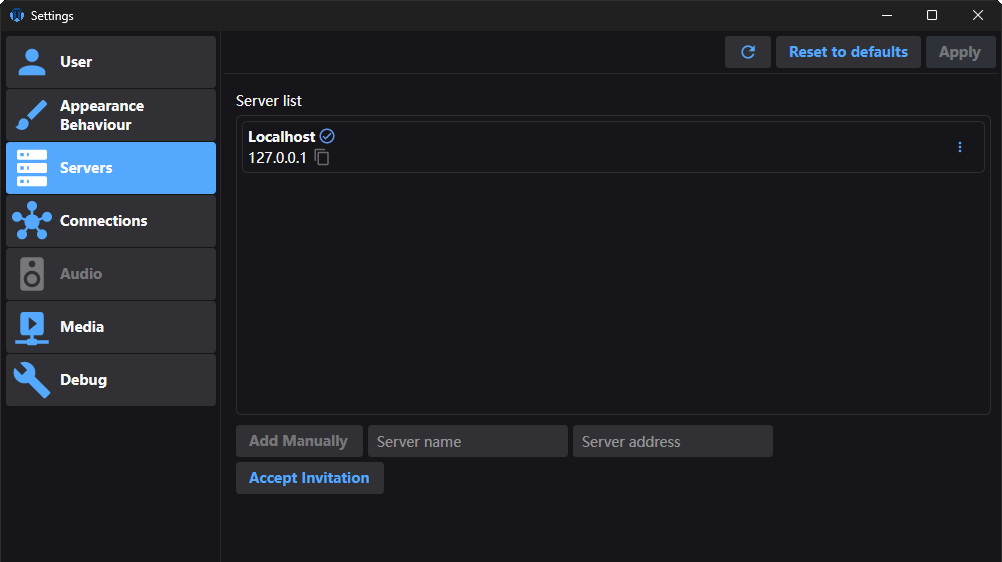
Here you can manually add servers or accept an invitation.
Invitations are the recommended and main way to add users to servers.
Whoever hosts the server will have a read about the invitation system and know how to make one.
As a user you should receive an invitation link from the person hosting the server.
On Windows and possibly other platforms in the future, you can simply click the link and it should pop-up with the details for you to accept like this:
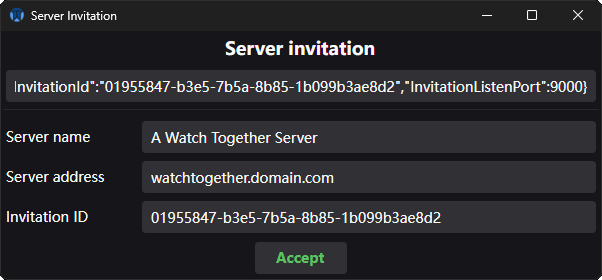
Once you accept, and invitation processing succeeds, you can then close the popup and connect to the server.
Once connected, you can switch over to the media tab.
Now, depending on what permissions you were given, some of these option may be unavailable or empty inside.
The server host/owner/admin decides who has access to which media through the admin panel.
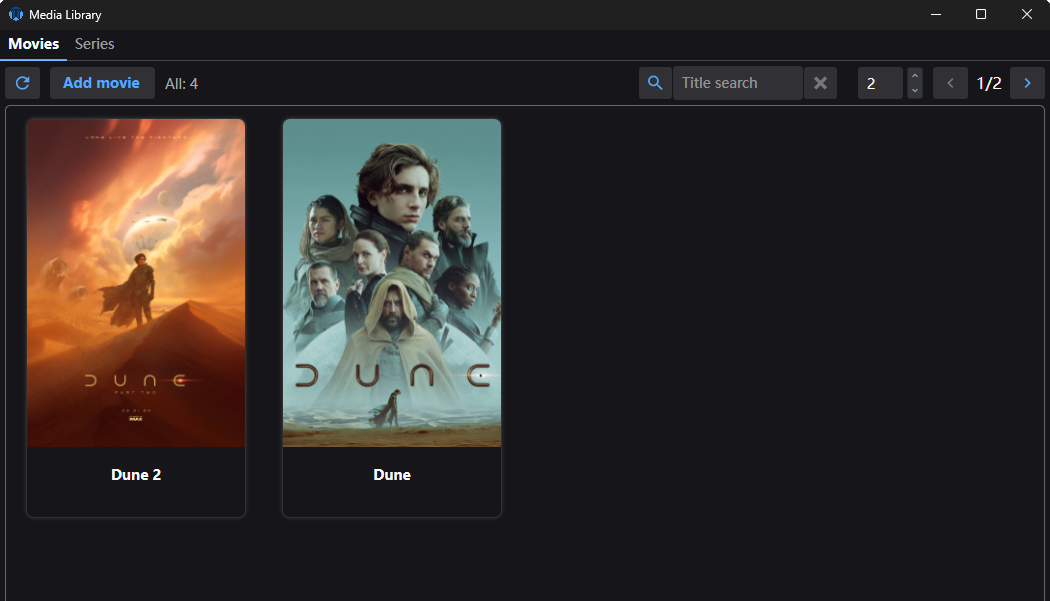
As an example, you can get into the media library.
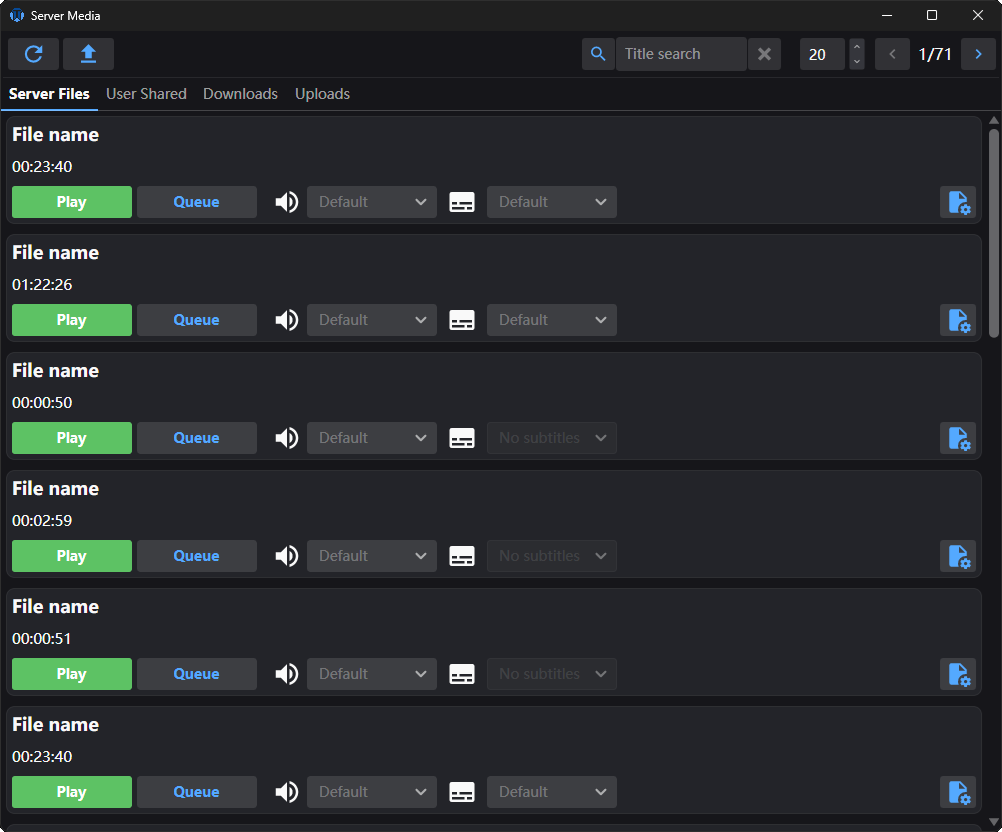
Or server media.
Now, when you want to actually watch together with multiple users.
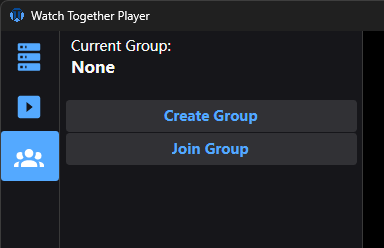
You go into the group tab.